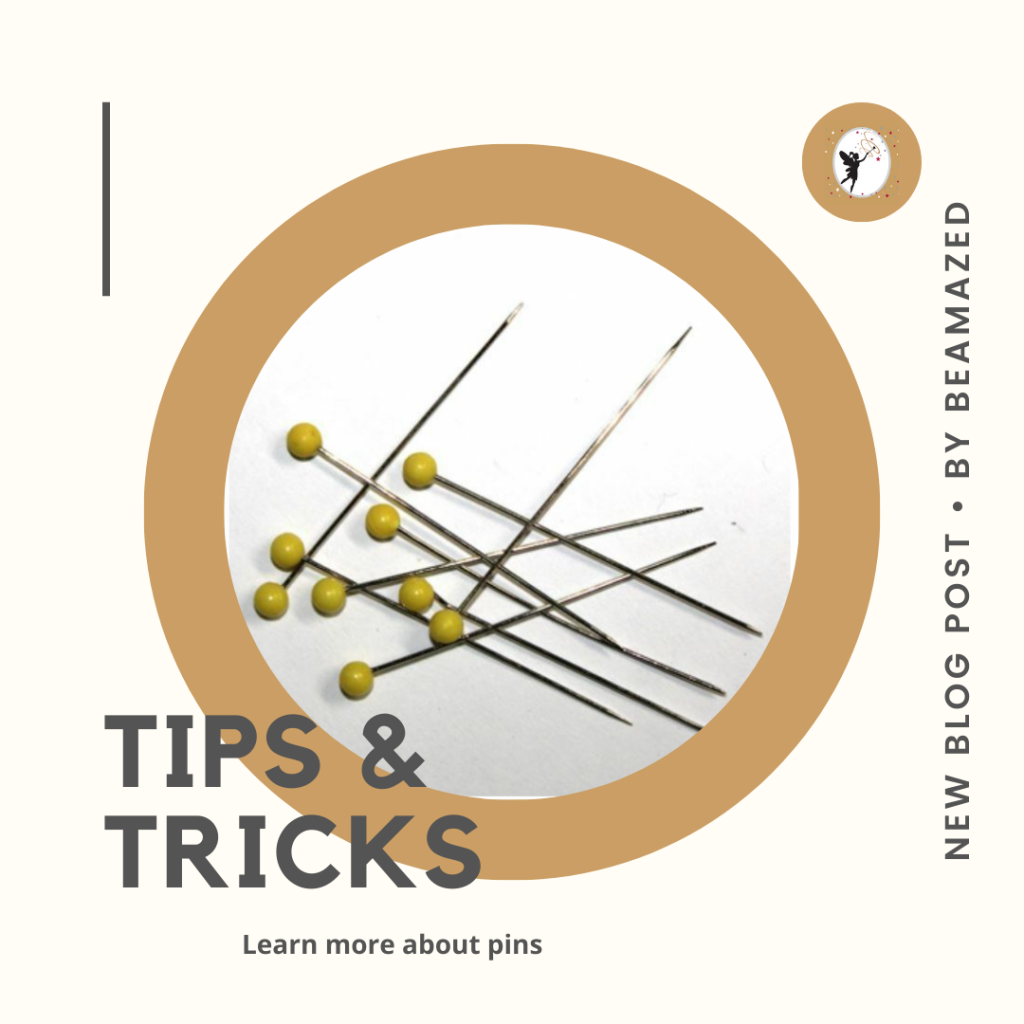
Everything a sewing beginner should know about pins right from the start to assure great success. A handy step by step guide to get started. Bundled with the most important knowledge there is to know about pins.
Sewing pins – a little helper many of us underestimate. Learn more about it and how to choose the right pin in your next project. Did you even know there are different pins that serve a different purpose?
This post is another one from my old ones that I’m transferring to my new website. If you ever had a look through your local sewing shop you will know there is a wide range of sewing pins available. To make the right choice and be prepared for any sewing project that you are going to start I have provided you with a step by step guide on how to choose the right sewing pin as well as a close up on some common pins.
First up the sewing pins are usually straight unless it is a safety pin but we’re skipping the safety pins for now and concentrate on the normal straight sewing pin. Those pins vary in length, thickness, different heads and the tip. As with everything you could make a whole assay out of this topic but I’m trying to keep it simple and useful. I have also included some special pins which may come handy to some of you. Before we dive deeper into all the different pins you need to understand the “anatomy” of a pin. This will help you understand terms I have used and what they exactly mean or change in a pin.

To make it easy to choose the right sewing pin just follow this step by step guide.
Step 1: What fabric do you use?
- Knits and stretchy fabric: ball point tip
- Woven: sharp tip
- Silk: ONLY use very thin flat or no-head pins (aka dressmaking pins, satin pins or silk pins)
- Upholstery fabric: Use a T-pin
Step 2: Are you going to press with your iron over it?
Yes: Make sure you use a glass, metal or any pin head that doesn’t melt
No: You can use a plastic head.
Step 3: How many layers of fabric are you pinning together?
- Multiple layers: Make sure you use a strong and longer needle to assure getting through all layers (Quilting needles are usually long)
- Only 2 layers: any smaller/normal sized needles are ok.
- Using pins to attach an applique onto your project or any other very small projects: Applique pins are very short and thin and ideal for this type of work.
- Attaching binding to a quilt: Wonder clips are no pins but a great alternative for some projects. Especially when attaching binding these clips are rather easy and you will get a more even feed compared when using pins in this particular case.
!Please refer to the TIP section on the bottom of this blog-post in regards to material used to create pins and how it can affect your choice of pin. As it doesn’t affect most projects we do I haven’t included it in this step by step process. If it is an issue for you please consider this part as well!
What brand is the best?
Unfortunately for this question there is no one fits all answer. It really depends on you, your experience and preference. If I ask 10 people I would get 10 different answers. One person may have used this brand and loves it yet some other person have tried it and had a bad experience. I encourage you to go with your gut and what you can afford. I have had great experience with cheap brands yet others didn’t. It’s always good to keep note so you remember what brand you bought or which one to avoid in the future. Because if you store them in a different container or pin cushion you won’t be able to check quickly in the future if you need to.
A few examples of some common sewing pins how they look like and they’re benefits:
Ball point pins
With their round ball point tip they are ideal for any knit or stretchy fabric. Any fabric that is created by continuous loops will benefit from these pins as they will push the thread aside instead of piercing through them. Once a thread in this type of fabric is damaged it can lead to major unraveling. You can get them with any type of head or in the dressmaking pin style with no head depending on what you need or prefer to work with.
Quilting pins

They are usually stronger and longer than your “normal” pin as they have to go through various layers including wadding. They also come with different heads. From the normal round heads to flat shapes such as stars or other shapes. Many quilters favor these type of pins. They are easy to spot on your project and because they are longer it’s easier to pin them through all those layers. Most of them have plastic heads which isn’t really an issue as you usually iron before or after pinning. Just keep in mind that these pins are stronger / thicker than your normal pins which is usually fine when using sturdy quilting cotton. If you use any other fabric that is thinner etc. make sure you adjust your pins accordingly.
Dressmaking pins

Also known as silk pins or satin pins. These pins are great for working with delicate fabric such as silk, satin and so on. The shaft thickness varies and you should always make sure you match it with your fabric to avoid damage. If in doubt always do a test on a scrap piece.
Why is this so important because some fabric such as silk does not “self-repair” once a needle was pinned through unlike other woven fabrics which just move back into place. Always keep that in mind.
T-pins

While they are commonly used to pin paper onto cork boards or working on wigs and on many other craft projects such as macrame you can also use them to work with upholstery fabrics or some loose knit fabric. However be careful to not use them with delicate fabrics as they are quite thick. Sometimes you can get a specific type which is not as thick and specifically designed for quilting.
Fork pins

Great for using when lining up seams to make sure they sit where they’re supposed to be. I got here an image from Clover fork pins but haven’t tested them myself yet.
Some ideas on what you can use them for:
- Once you lined up your seam perfectly place the needle with one end to the left and the other one to the right of the seam too keep it in place.
- When sewing rows together while piecing. You can use the pins to hold additional seams in place when sewing over them.
- And some quilters use them for pinning quilt blocks with various seams in them to keep the seams in place while sewing.
Wonderclips

I love these clips they are perfect for fixing quilt binding into place. The normal pins usually move the fabric or binding in a slight awkward position but the clips hold it in place nicely. I’d say they are also great for other craft projects but haven’t tried them yet for anything else so far.
TIPS:
- Test your pin on fabric scraps if possible to see how the fabric recovers.
- Every manufacturer is grouping their needles in a different way. What’s fine for one manufacturer is a thicker version for the other. If possible move the shaft between your fingers and feel the difference.
- If possible keep your pins within your seam allowance to avoid extra stress on your fabric. Don’t be too worried about it though. If you choose the right needle and making sure they are always sharp and good you should be fine.
- As soon as you notice that one of your pins doesn’t run smoothly through the fabric chuck it out. It most likely has minor damage to it that can cause irreversible damage to your fabric.
- The material used to make pins becomes interesting if you leave your pins within your project for a long time and you are living close to the ocean. I haven’t tested it myself but after my research it seems nickel-plated brass works best and won’t leave rust marks on your fabric once it has been in contact with salt water.
Close up summary:
Even though this all sounds intimidating please don’t overthink it. In the beginning you most likely will sew with normal cotton fabric which means any “normal” sharp point pin is fine. Just go have a look and pick one that you like. Just watch out with the plastic heads that you don’t iron over them.
Once you start working with other fabric types use the step by step approach to choose the right pin. And over time you can built up on your sewing knowledge and accessories.
Personally I like to work with pins that have a glass or plastic head instead of the dressmaker pins. While I don’t really work much with delicate fabric I don’t feel the need to try them. I’m telling you this because I want you to find out what you like and prefer to work with. Everyone is different and prefers something else and it is important to feel comfortable in using your tools when sewing.
Follow me on my journey! And discover yours.
Have fun creating!
Sue
